How to manage your help center with Claude Code (MCP)
Discover how to manage your help center with Claude Code (MCP) for streamlined organization, faster updates, and improved user satisfaction.

You just merged a PR that adds a new billing webhook handler. Tests pass, CI is green, you close the tab — and then remember the help center article about webhooks is now out of date. You could context-switch to a browser, find the article, edit it manually, and hope you don’t miss anything. Or you could stay in your editor and let your AI assistant handle it.
That is exactly what the Model Context Protocol (MCP) makes possible. MCP is an open standard that lets AI code editors — Claude Code, Cursor, Windsurf — connect to external tools and services through a structured interface. Instead of copy-pasting between your editor and a web dashboard, MCP gives your AI assistant direct access to APIs it can call on your behalf.
Helprism ships an MCP server that connects your help center to your development workflow. This article walks through setting it up, the tools and prompts it exposes, and practical ways to use it.
Installing the Helprism MCP Server
Install the server globally from npm:
npm install -g @helprism/mcpThe server needs a Helprism API key. You can generate one from your Helprism dashboard under Settings > API Keys (available on the Business plan). The key must start with hp_.
Next, register the server with your AI editor. For Claude Code, add it to your MCP config:
{
  "mcpServers": {
    "helprism": {
      "command": "helprism-mcp",
      "env": {
        "HELPRISM_API_KEY": "hp_your_api_key_here"
      }
    }
  }
}
Cursor and Windsurf use similar configuration — point them at the helprism-mcp binary with the HELPRISM_API_KEY environment variable set.
Once configured, your AI assistant can read, create, update, and delete help center content without leaving your editor.
Available Tools
The MCP server exposes a focused set of tools that cover the core content operations:
Articles:
list_articles— List all articles, optionally filtered by status (draft,in_review,published)get_article— Fetch a single article with its full content rendered as markdowncreate_article— Create a new article from markdown content in a given categoryupdate_article— Update an article’s title, content, status, or categorydelete_article— Delete an article (requires explicit confirmation)
Categories:
list_categories— List all categories with their names, descriptions, and iconsget_category— Get details for a single categorycreate_category— Create a new category with a name, description, and Lucide iconupdate_category— Update a category’s name, description, or icondelete_category— Delete a category (requires explicit confirmation)
Workspace:
get_workspace— Read current workspace settings (brand color, fonts, SEO, hero section)update_workspace— Update workspace settings like brand color, hero heading, meta tags, and dark mode preferences
Content you send is written in markdown. The Helprism API handles converting it to the block format used by the editor, so the articles render correctly on your public help center.
Built-in Prompts
Beyond raw tools, the MCP server includes two prompt templates that guide the AI through multi-step workflows:
generate-knowledge — Turn source material into a draft article. You provide context (a feature spec, changelog entry, issue description, or any raw text), and the prompt instructs the AI to:
- Call
list_categoriesto find the right category - Write a well-structured help article from your source material
- Call
create_articleto save it as a draft
update-knowledge — Revise an existing article with new information. You provide the article ID and a description of what changed. The prompt instructs the AI to:
- Fetch the current article with
get_article - Incorporate your changes while preserving the existing structure and tone
- Save the update with
update_article
These prompts handle the tedious parts — finding the right category, maintaining consistent formatting, preserving existing content — so you can focus on describing what changed.
Practical Use Cases
Update Docs When You Ship a Feature
This is the most common scenario. You just finished a feature, your code changes are committed, and you need the docs to reflect the new behavior. Instead of opening a browser:
> Use the update-knowledge prompt. Article ID: abc123.
> What changed: The webhook payload now includes a `retry_count`
> field. Maximum retries increased from 3 to 5. Added a
> `X-Helprism-Delivery` header to all webhook requests.
The AI reads the existing article, weaves in the new details, and updates it — all within your editor session.
Bulk-Generate Articles from Source Material
When you are launching a new product area and need to stand up several help articles at once, you can feed specs or READMEs directly into the generate-knowledge prompt:
> Use the generate-knowledge prompt with this context:
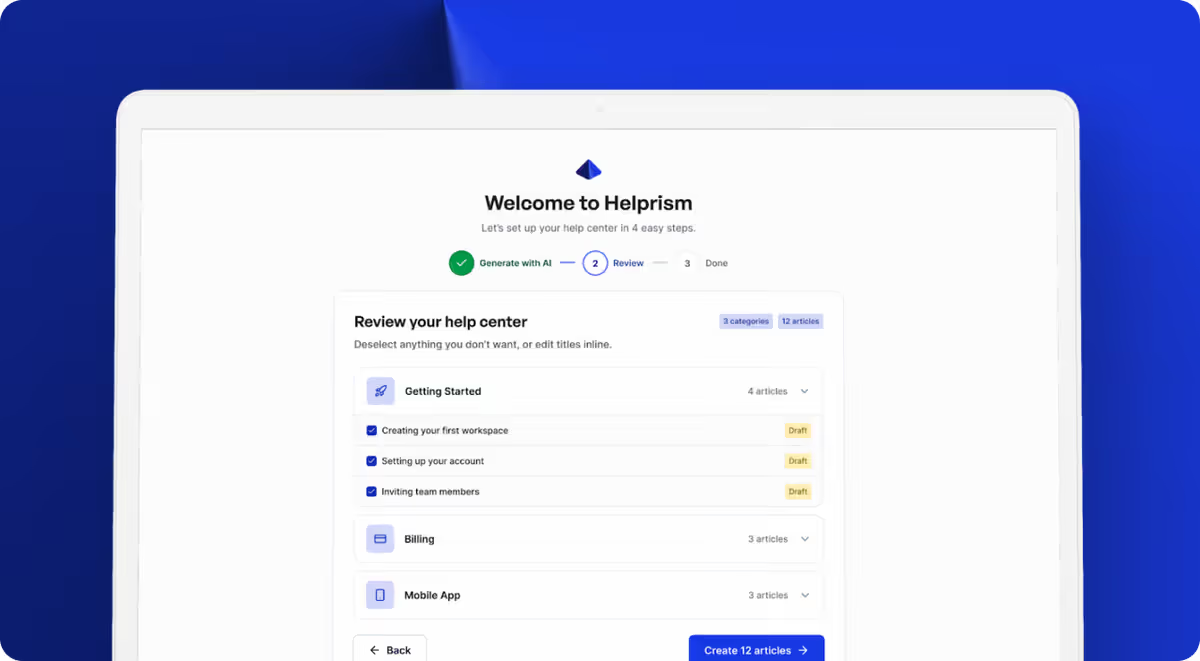
> [paste your feature spec or README here]The AI picks an appropriate category (or asks you to choose one), drafts the article, and saves it. Repeat for each piece of source material. You can review and publish the drafts from the Helprism dashboard or update their status via the MCP tools.
Keep Docs in Sync with Code Changes
If your team uses a convention like updating help articles whenever a user-facing change lands, the MCP server fits naturally into that workflow. After merging, tell the AI what changed and point it at the relevant article. No tab switching, no copy-pasting from the diff.
Beyond MCP: The Helprism REST API
The MCP server is built on top of Helprism’s public REST API. If you need programmatic access outside of AI editors — CI/CD pipelines, custom scripts, webhooks — the REST API supports the same operations with standard API key authentication. Helprism also supports outbound webhooks so you can trigger external workflows when articles are created or updated.

Getting Started
The MCP server and REST API are available on the Business plan ($99/month), which also includes custom domains, the AI answer bot, and the embeddable help widget. If you are already on Business, you can generate an API key from your dashboard and start using the MCP server today.
The workflow is simple: install the package, add your API key, and start talking to your help center from your editor. Your docs stay current because updating them is no longer a separate chore — it is part of the same session where you write the code.
Ready to get started?
Paste your URL. Review the draft. Publish. Your help center is live before your coffee gets cold.
Start Free →